I recently uploaded an article on the basics of resistance training, which you can find here, and in my previous post, I gave you a beginner’s gym programme which you might find useful.
Today I thought I’d adapt a basic resistance gym programme for at-home use. If you’re just starting out, you might not feel comfortable getting a gym membership just yet. The idea of stepping foot in a gym might seem a little daunting – I know that’s how I felt at first – and let’s face it, gym memberships aren’t cheap.
If that’s the case for you, then you might find this home programme useful – I certainly would have!
If you’ve read my previous post, you’ll have seen that I went for a full-body resistance training programme, and my plan is to do the same here. There’s no reason you can’t get a great resistance workout, targeting all the major muscle groups from the comfort of your own home, and in the next 10 minutes, I’d like to prove it to you.
So keep reading to find out how you can build yourself a stronger and healthier body using just your own bodyweight and a few resistance bands! If you’d like to buy yourself a set of bands to get started, these might be a good option. Here’s how the post is split, just in case you’d like to go directly to a particular section:
Of course, as I said in the gym programme post, there are likely other ways to target the same muscle groups, but the aim here is to give you a flavour of what you can try out at home if you’re new to resistance training.
Off we go!
1. Legs – Squat Hold
We’ll start with a squatting variation to target your leg muscles.
My chosen at-home variation is the wall sit. It might not seem like much and there’s very little movement involved, but it’s a slow burner. As you hold it, you’ll begin to feel your leg muscles slowly feel as though they’re catching fire, then begin to shake and then give in.
The idea is to lean your back against a wall and lower yourself down into a seated position, with your knees at a 90° angle, but without actually sitting on anything. Your legs will be doing all the work to hold you upright.
You can start by holding for about 30s, and then progress to minutes as it becomes easier. Now, if you find it difficult to hold a 90° angle, you can always lower yourself a little less against the wall, so that you’re standing a little more. That should make it doable, until you’re eventually able to lower yourself to the right depth. Like the woman in the image, you can hold a weight if you’d like to make the exercise a little trickier.

2. Chest and Triceps – Push/Press
We’ll move next to the upper body, starting with the chest muscles and your triceps, i.e. the muscles at the back of your arm.
Here we’re going for a push-up or press-up – whatever you prefer to call it. Push-ups are the classic upper body weight exercise and are great for strengthening the muscles in your chest and arms. If doing a normal push-up is too tough at the start, find some stairs you can lean against (instead of level ground) to reduce the resistance. The more upright you are, the easier it should be.
Start by taking up a plank position with your hands in line with your shoulders and your feet close together balanced on the ball of the foot. You’ll want to think of lowering your whole body to the ground, not just your chest, by isolating the muscles in your chest and arms. This will help you avoid hinging your hips up as you bring your body down, into more of a downward dog position than a plank. The idea is to keep your elbows in, so that when you lower yourself down to the ground, you make an arrow-shape, with your head as the leading point and your elbows as the two at the side.

Here I’d recommend 3 sets of 8-10 reps to start off. Whatever angle you begin at, progressively lower yourself towards the ground as you become stronger. If you need to start standing almost upright and leaning against a wall, then do that. I promise, if you keep it up (and eat right to get stronger), you’ll progress in no time!
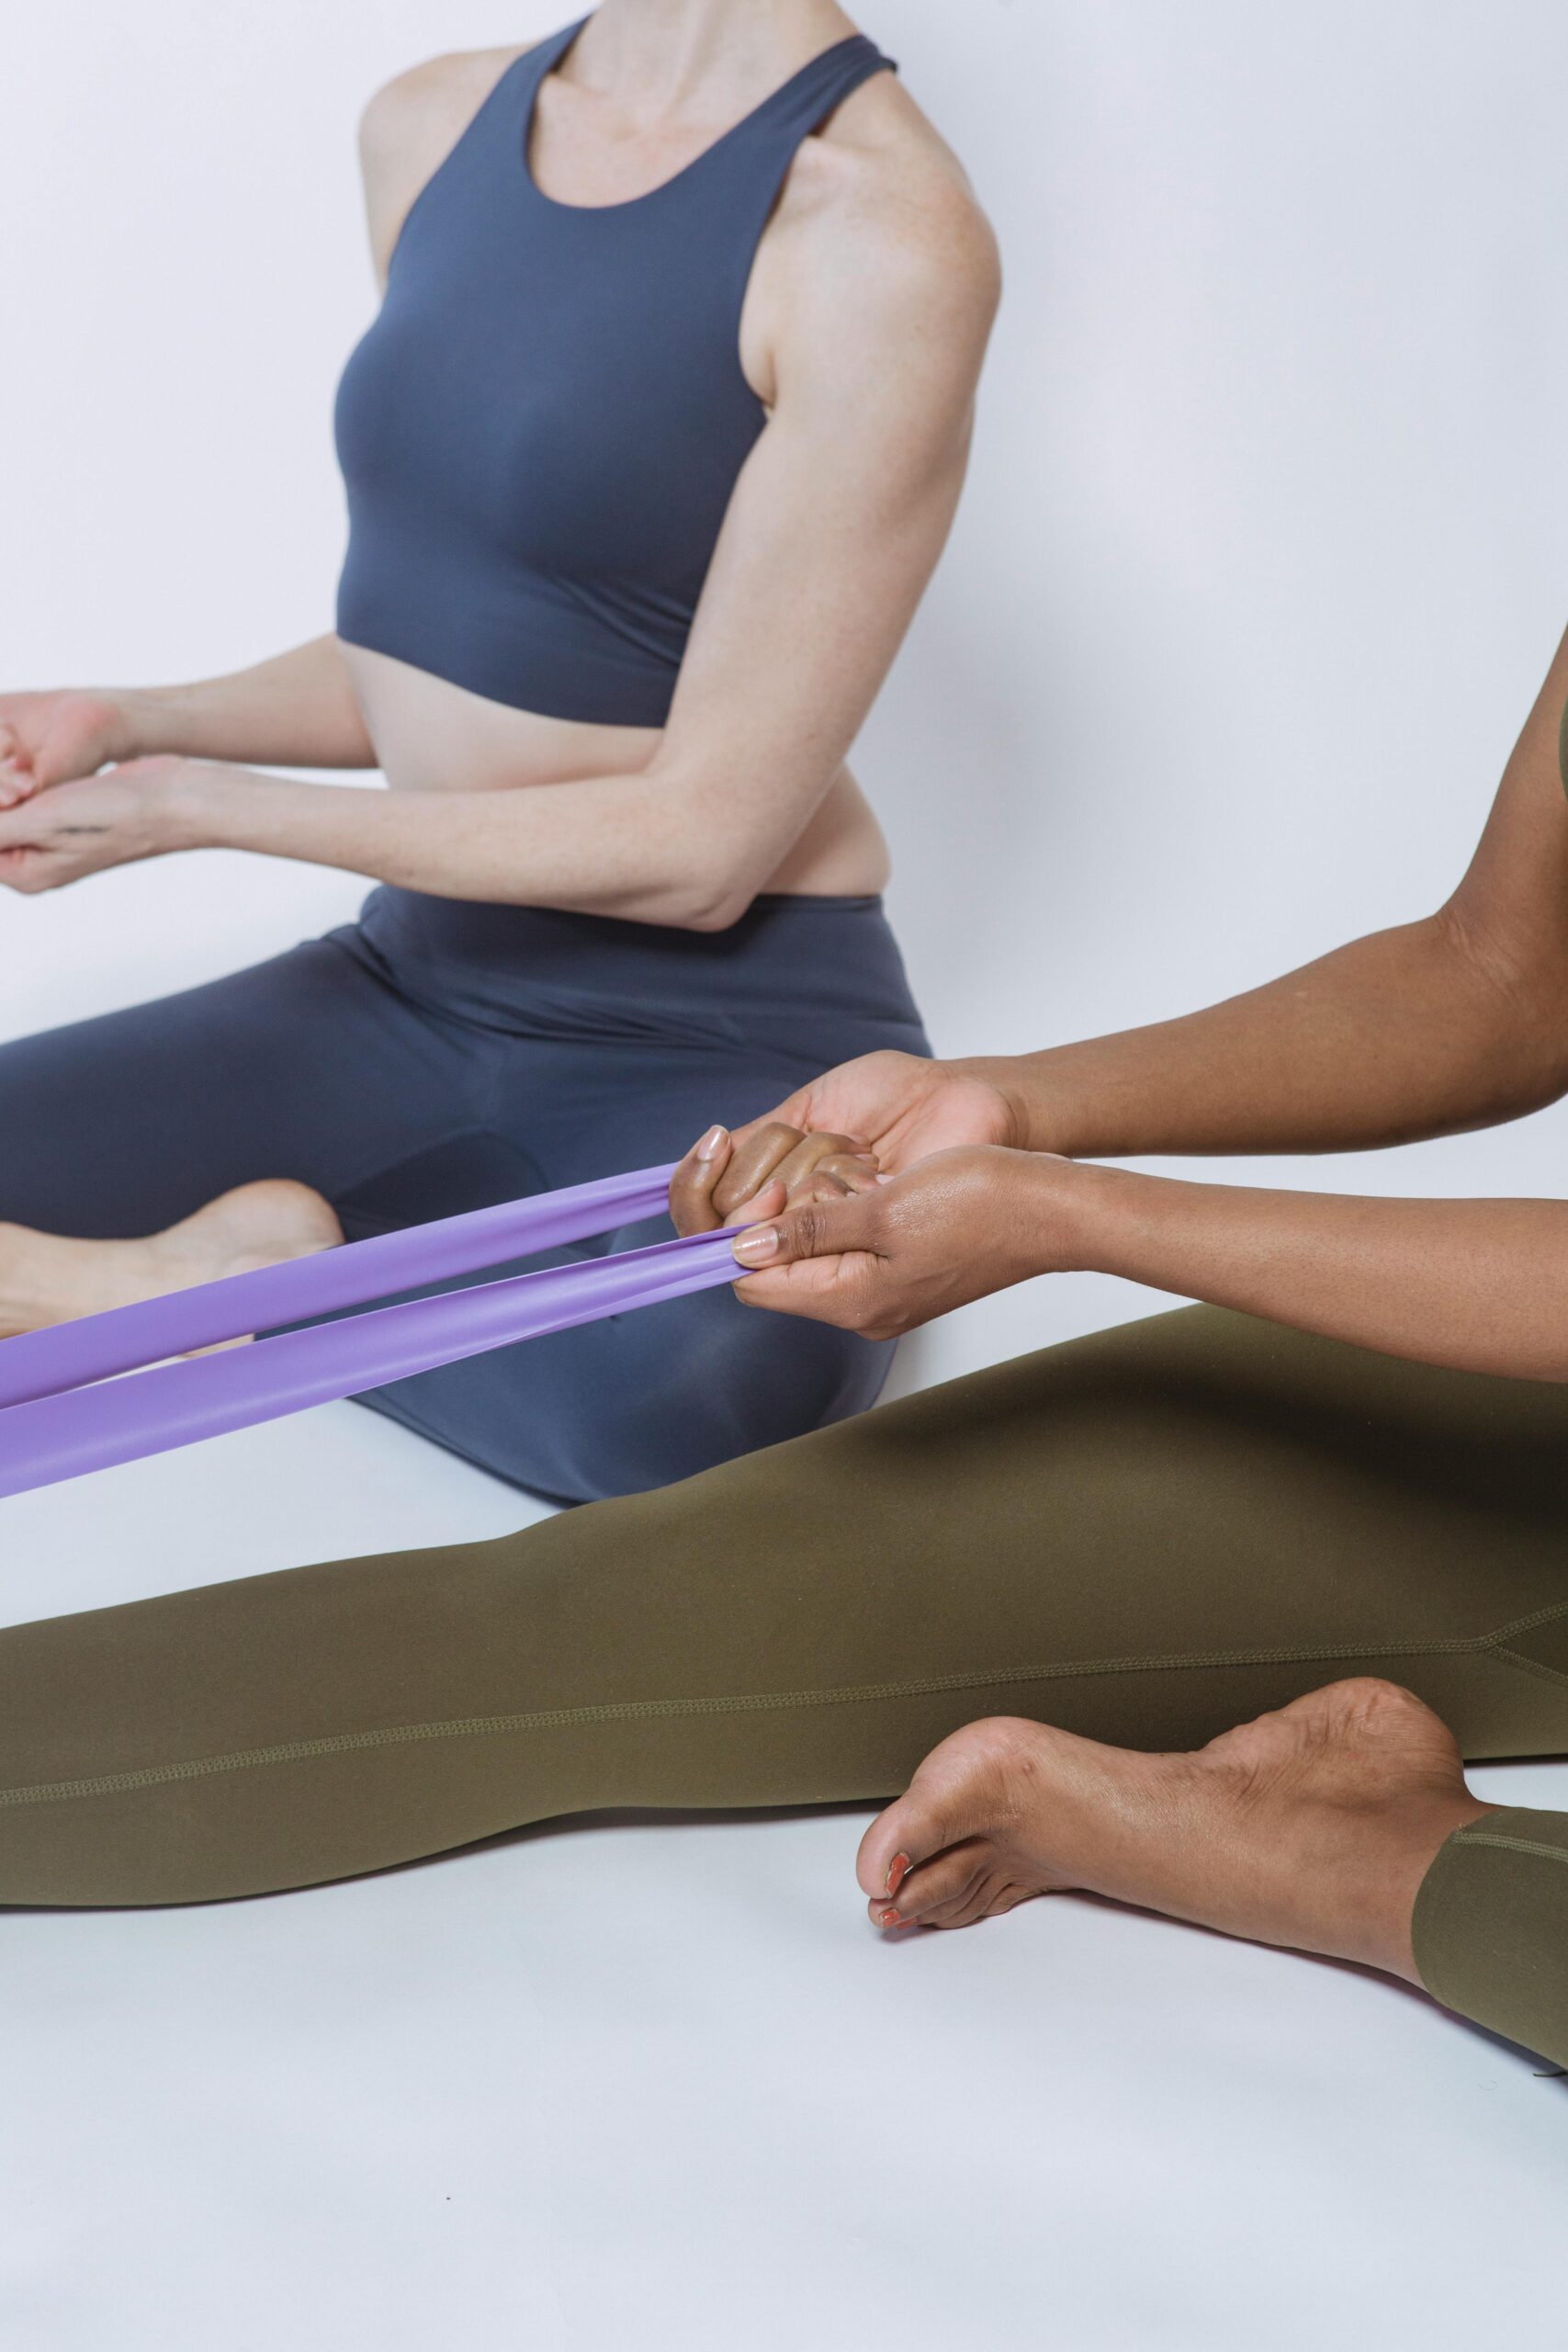
3. Mid-Back and Biceps – Banded Row
We’ll move on to a back exercise, focusing on row-type movements to work your upper- and mid-back muscles, as well as your biceps.
For our home-based exercise, we’ll try a double-arm resistance band row. This involves trying a resistance band around your feet and pulling both handles (if you have them) towards you at the same time.
The idea is to sit up straight, pulling your shoulder blades inwards and downwards. Then isolating your arms and back muscles, with control pull the handles back towards you, keeping your elbows close to your sides. Squeeze your back muscles together for a second and slowly extend your elbows back out to straighten your arms, releasing your muscles. Always remember to keep your chest proud. Repeat for the desired number of repetitions.
Here again I recommend 3 sets of 8-12 reps, but make sure you’re going all the way to failure. You might need a band with a higher resistance if you feel you can do more than 12 in each set. You can also loop the band twice around your feet to make it shorter and increase the resistance. This will be important to do as you progress and get stronger.
4. Posterior Chain – Hinge
A hinge-type exercise is what we’ll need next to really target the posterior chain.
When it comes to the home-based hinge, I have a couple for you to try. One requires more balance than the other, so if you think it might be unsafe, try the first option.
First we have a glute bridge that you can see in the image below. This might not be new to you, but I’ll give a short explanation to ensure you stick to proper technique and avoid any back injuries.
You’ll start lying on the ground with knees bent and feet flat on the floor. As you drive your hips up towards the ceiling, you’ll want to think of peeling yourself off the ground – first your glutes, then your lower back, then your mid back. Squeeze your glutes as you hold for a second or two, then lower yourself back down – first your mid back, then your lower back, then your glutes.

Try 3 sets of 12 reps with 2 minutes of rest between each set. You can use a band to increase the resistance and work your gluteus medius (the sides of your glutes). You can then increase the resistance of the band as your strength increases.
Your other option is the single-leg deadlift, depicted below. If you’re doing this right, it can be surprisingly effective at targeting your hamstrings and glutes.
The idea is to hinge forward, thinking of keeping your chest and back parallel to the ground, and not leaning or tilting sideways. You should feel a stretch in your hamstrings as you lower yourself down towards the ground, hinging your hips back, and squeeze your glutes on the way back up to bring both legs together. This video from Well+Good gives a great explanation of the dos and don’ts of single leg deadlifts:
These can be quite tiring at the start, so aim for 2-3 sets of 8 reps with a 2-minute rest period between each set. At the beginning, you may want to do them without a weight in your hand, but as you get stronger, and once you’ve mastered the basics, you might like to hold a kettlebell or dumbbell in the same hand as the leg you’re lifting to increase the difficulty.
5. Shoulders – Banded Push/Press
Let’s give the back of your body a break for a moment and move on to your shoulders. They’re not big muscles, but strengthening your shoulders and rotator cuff muscles (that hold your shoulder in its socket) is important for overall strength.
Here we’ll try a resistance band variation of the dumbbell shoulder press or of the military press. This time, it is performed standing up. The idea is to hold the resistance band down with your feet and use your weight to keep it under you.
You can then bring the handles up to shoulder level and lift them above your head, as you would with dumbbells. Make sure to lower your arms back down slowly as the elasticity of the bands can cause your arms to shoot back down if you’re not careful. Again, repeat as many times as desired.
As I suggested for the dumbbell shoulder press last week, I’d recommend 2 sets of 8 reps each to start off with. You can later progress to more reps, a band that offers more resistance, or more sets too.
6. Lats – Banded Pull
Our final exercise will be one more back-training task. This will target different muscles to those in exercise 3. While we previously targeted the mid-back muscles, this exercise will target your lats – the muscles at the side of your back.
While it might take a few extra seconds to set up, this resistance-band at-home lat pulldown is a great alternative to the gym-based one. The following video by Neil & Linds shows you just how easy it can be to set up your own lat pull-down station.
If you’re positioning yourself right beneath the door jamb, then pulling the resistance band almost vertically downwards is fine, but if you’re pulling the band taut and kneeling further back as in the video, make sure to lean forward so your arms are still moving up and down parallel to the trunk of your body. This is essential to get the right muscles working.
As in the gym variant, pull your arms down, leading with your elbows to create a ‘W’ shape with your body, and slowly release your arms back up to a fully extended position. Again, repeat this for 8-12 times for 3 sets if you’re just starting out. As you get stronger, you can increase the number of sets or reps, or increase the resistance of the band.
Those were the main exercises I planned on sharing for this workout, but you could also throw in a couple of core exercises as many of these are done using only your bodyweight, and so can be performed both at home and at the gym – think planks, sit-ups and V-holds.

For all the exercises I outlined, I recommended increasing the number of sets, reps or resistance when you become accustomed to the exercises. Having said that, in order to progress in the way you wish (increase strength, improve power, build more muscle mass), you might want to refer back to my earlier article, where I highlight the set and rep ranges you should be aiming for to achieve a particular adaptation. What I’ve outlined above is a great place to start, but you might want to vary the workout as you progress.
As you can see, you don’t need to go to the gym to get a resistance workout done, so don’t feel like you need to purchase one. Bodyweight exercises like some of the ones I recommended for home workouts (as well as resistance band exercises), can be a great place to start. But many people keep them up even after years of resistance training, because you can always make them harder! They’re a great resistance training option regardless of how well-trained you are.
You can create a very challenging and well-rounded workout using just your bodyweight. At times, it might actually be easier to use weights and resistance bands than to simply use the resistance from your own body! So whether you’re new to resistance training or a more seasoned gym-goer, bodyweight exercises are a great addition to your routine.
Right here is a programme you can follow to track the resistances you used. This way, you’re more likely to remember what you did and progress in your next resistance training session.
As always, please remember to consult with your GP if you’re taking up any new exercise, and please stay safe during your workout. Let me know in the comments if you have any questions or suggestions. Or leave a comment if you’d like to share your progress – I’d love to hear how you’re doing!